Divi is one of the most popular WordPress themes, known for its drag-and-drop builder and customization options. But beginners often face problems during installation or setup. In this guide, we’ll show you how to install Divi and fix common issues.
Download Divi Theme
Log in to your Elegant Themes account.
Go to Downloads and download the Divi.zip file.
Upload Divi Theme to WordPress
Log in to your WordPress dashboard.
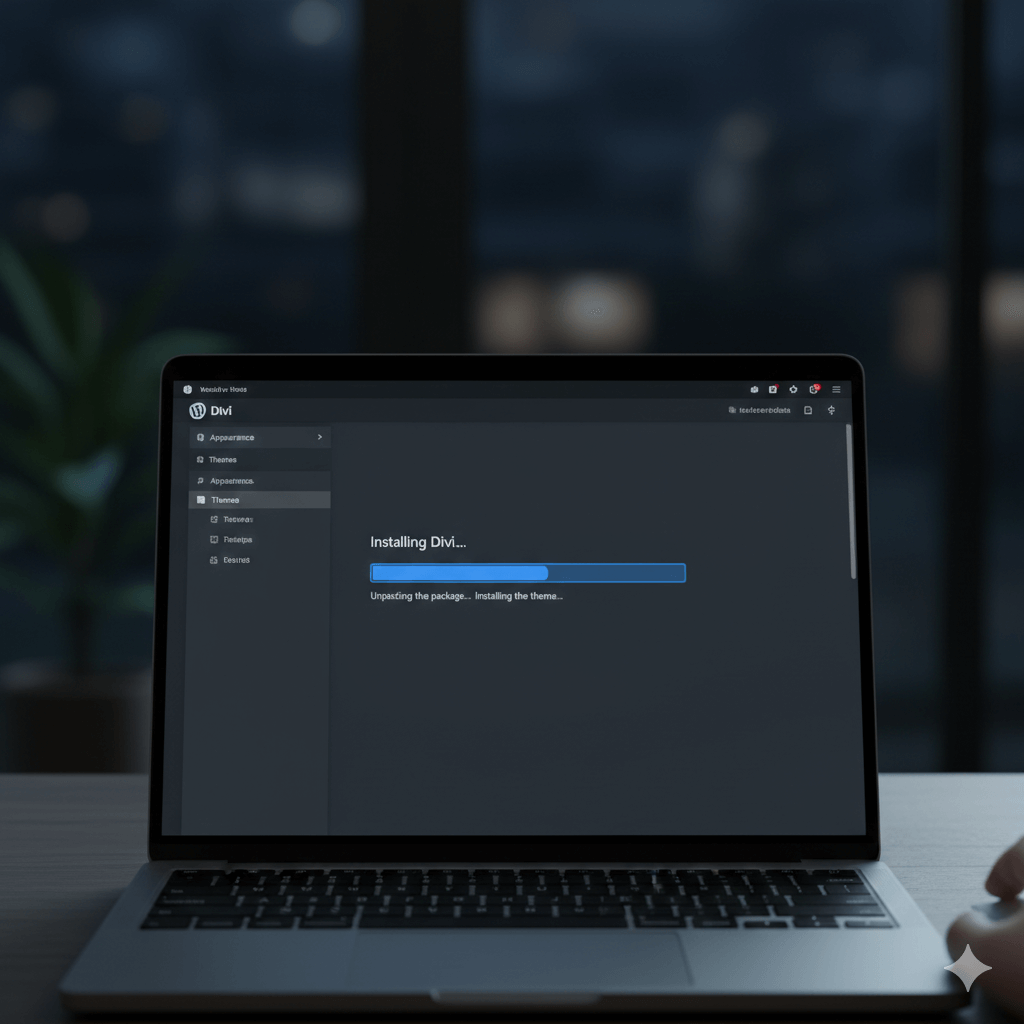
Navigate to Appearance → Themes → Add New → Upload Theme.
Choose the Divi.zip file and click Install Now.
Activate the Theme
After installation, click Activate. Your WordPress site will now use Divi as the active theme.
Install Divi Builder Plugin (Optional)
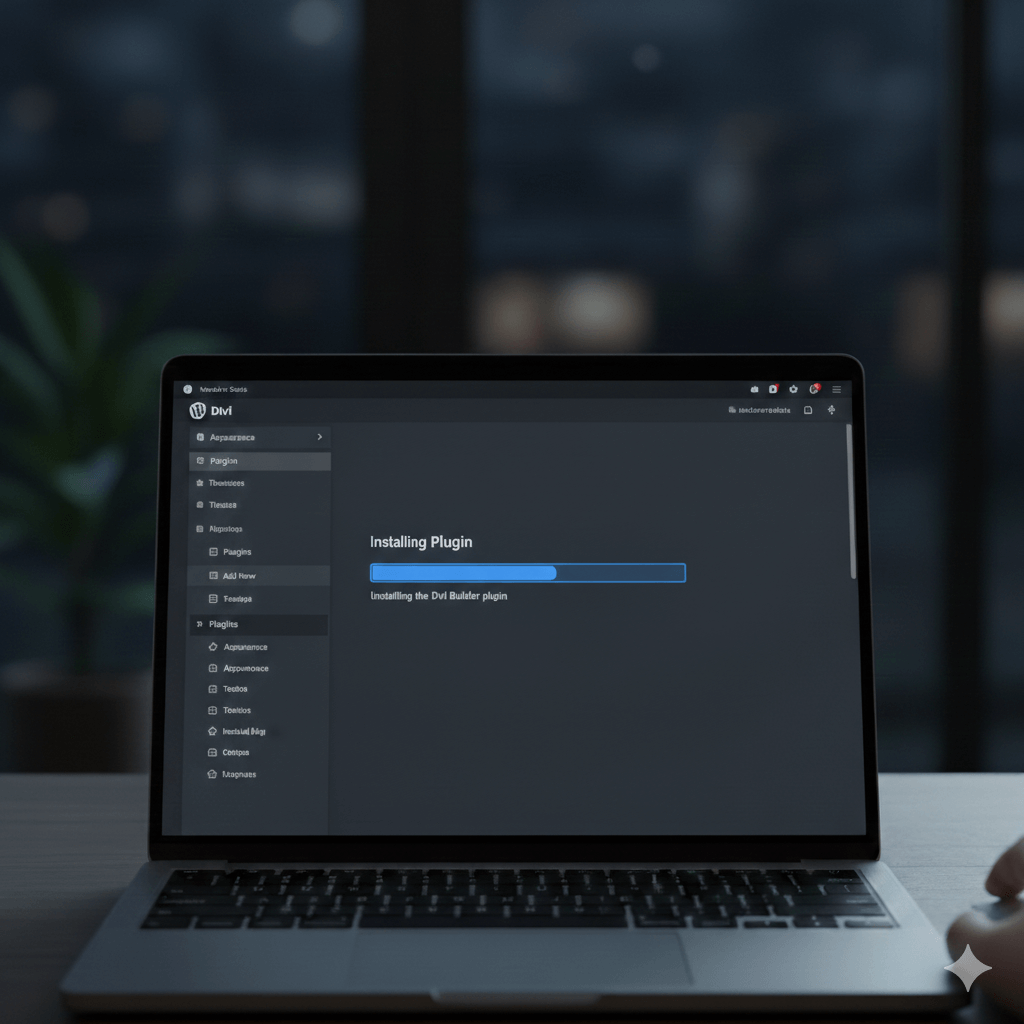
If you want full drag-and-drop functionality, install the Divi Builder plugin:
Go to Plugins → Add New → Upload Plugin.
Upload the Divi Builder.zip file and activate it.
Common Divi Installation Problems & Solutions
Upload Exceeds Max File Size
- Problem: WordPress shows an error about file size.
- Solution: Increase the upload_max_filesize and post_max_size in php.ini or ask your hosting provider to increase limits.
Theme Installation Failed
- Problem: “The package could not be installed” error.
- Solution: Make sure you are uploading the correct .zip file. If the file is extracted, re-compress it and try again.
Divi Builder Not Loading
- Problem: The visual builder fails to open.
Solution:
- Clear your browser cache
- Disable conflicting plugins
- Update PHP to at least 7.4
Demo Content Not Importing
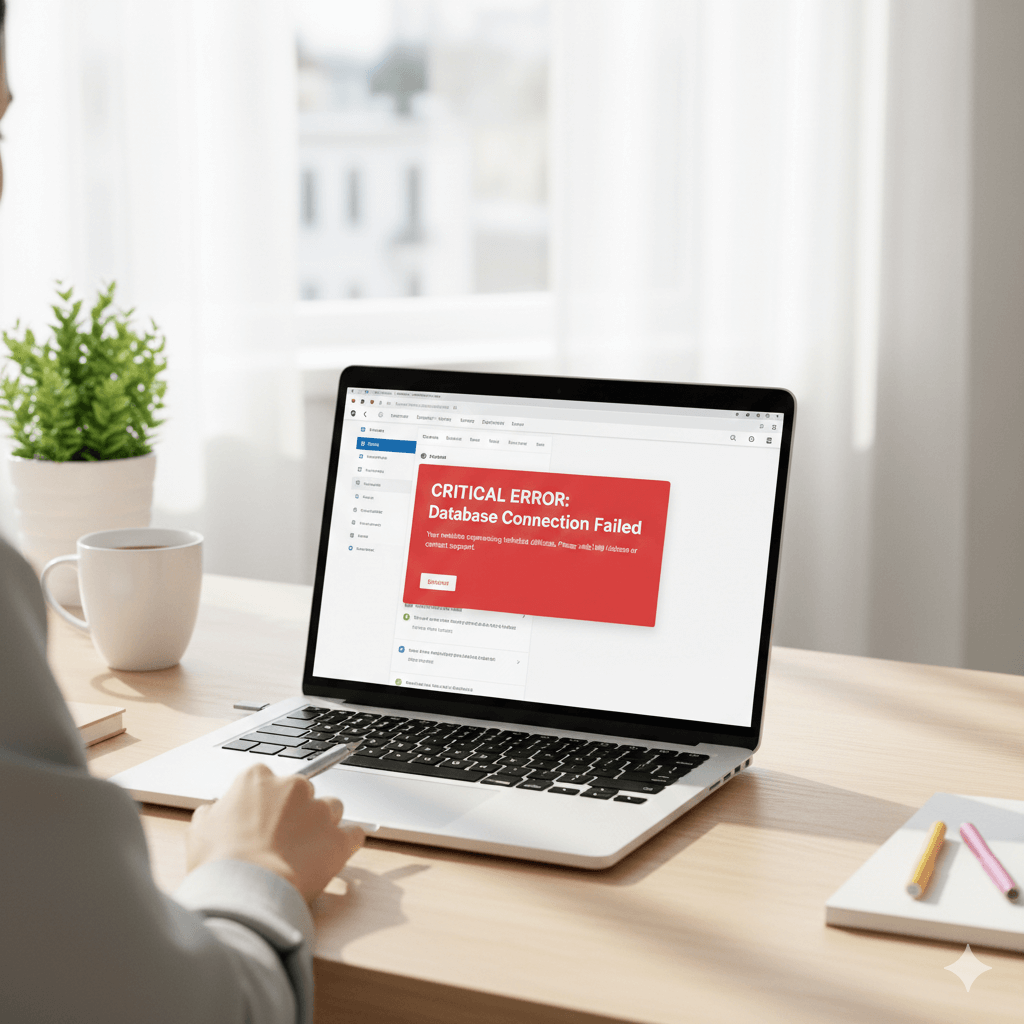
- Problem: Imported demo layouts show errors.
- Solution: Ensure your hosting allows large imports and increase max execution time in PHP settings.
Final Tips for Smooth Divi Setup
- Always use a child theme if you plan to customize CSS.
- Keep WordPress, Divi theme, and plugins up to date.
- Backup your site before importing demo content.
With Divi properly installed, you can now design beautiful websites without coding and create responsive, professional designs in minutes.